Creating a sticky letter list in Jetpack Compose
In today’s story we will learn how to enhance Jetpack Compose’s LazyColumn to display a sticky initial on the right side of the list. When we talk about sticky elements we usually think of sticky headers, a list item that sticks to the top of the list until a new header replaces it (this is natively supported by LazyColumn), but what we want to achieve here is a bit different, we want the sticky element to be on the side. This GIF illustrates what we want to achieve:

This is the kind of implementation that, in the view system and using a RecyclerView, we would implement with ItemDecorators — let’s see how we can implement this in Jetpack Compose.
The data
To display our list we are going to need some data to drive it, so let’s get that out of the way so we can quickly move to the implementation. For this example we are just going to display a simple word per row, with each word providing its initial for the sticky element.
We want to make our implementation generic, so we will define an interface that the list will use to obtain the initial to display on the left side:
and our concrete implementation for our example will be as follows:
This is fairly self-explanatory, we have a data class that hosts a single string and implements the StickyListItem interface by providing the word’s first letter as the initial.
Now let’s generate some random content for our list:
Strictly speaking this is not relevant to the list implementation, but I’ll quickly go over what we do here for completeness sake:
- - We define a paragraph of lorem ipsum.
- We remove any punctuation from the paragraph, and split it into words, using the space as the delimiter.
- Finally we filter out words that contain 2 or fewer letters, remove any duplicates and capitalize the words. We then map these words to
ListItems.
Now that this is out of the way, let’s see how we can implement the list.
Defining the signature
We want our list implementation to be customizable, so that the content of the list and the initial can be specified by clients. To that end, we will define our list as taking 2 factory methods, one that will provide the content for the initials, on the gutter, and a second factory that will generate the content of the list proper.
As is customary for Jetpack Compose composables, we will also accept a Modifier that will give the client further control on the list.
Let’s see how we define this signature:
- - We define our list composable using generics, based on the
StickyListIteminterface we just described. - The first arguments to our list is the items to display, implementing
StickyListItem. - Next we provide the optional
Modifier. - Next we have the sticky element factory for the items initial; this is a composable lambda takes the initial to render on the gutter.
- Finally we have the
itemFactory, another composable lambda which will be responsible for generating the content for each row on our list.
For this example we are keeping it fairly minimal, but our list could mimic the signature of LazyColumn and delegate additional arguments to LazyColumn.
Basic implementation
First we are going to implement our list without the sticky part, and latter we will add the stickiness to it. Let’s see how we go about that:
Let’s analyze this:
- We remember the list state — we are not using this at this point, but we will shortly.
- We wrap our list in a
Box— again, the purpose of ths is not obvious at this time, but we will see shortly why we need this. ThisBoxtakes theModifierthat we receive as parameter, as it is the root composable. - We delegate the list implementation to a
LazyColumn. - We pass the list state to the
LazyColumn. - We add a start padding to the list equivalent to the gutter width, so we leave room for the initial.
- And then we build the list items using the item factory described earlier.
Once we have this in place, we can call this composable as shown below:
- We use our word generator to build the items for the list, sorting them alphabetically.
- We then provide the initial factory to the list (which is currently unused). This builds a composable that renders a letter centered in a container, using the primary color, the h2 text style and bolded.
- Then we provide the factory for the list items. In this simple example this is just a label for the word and a divider.
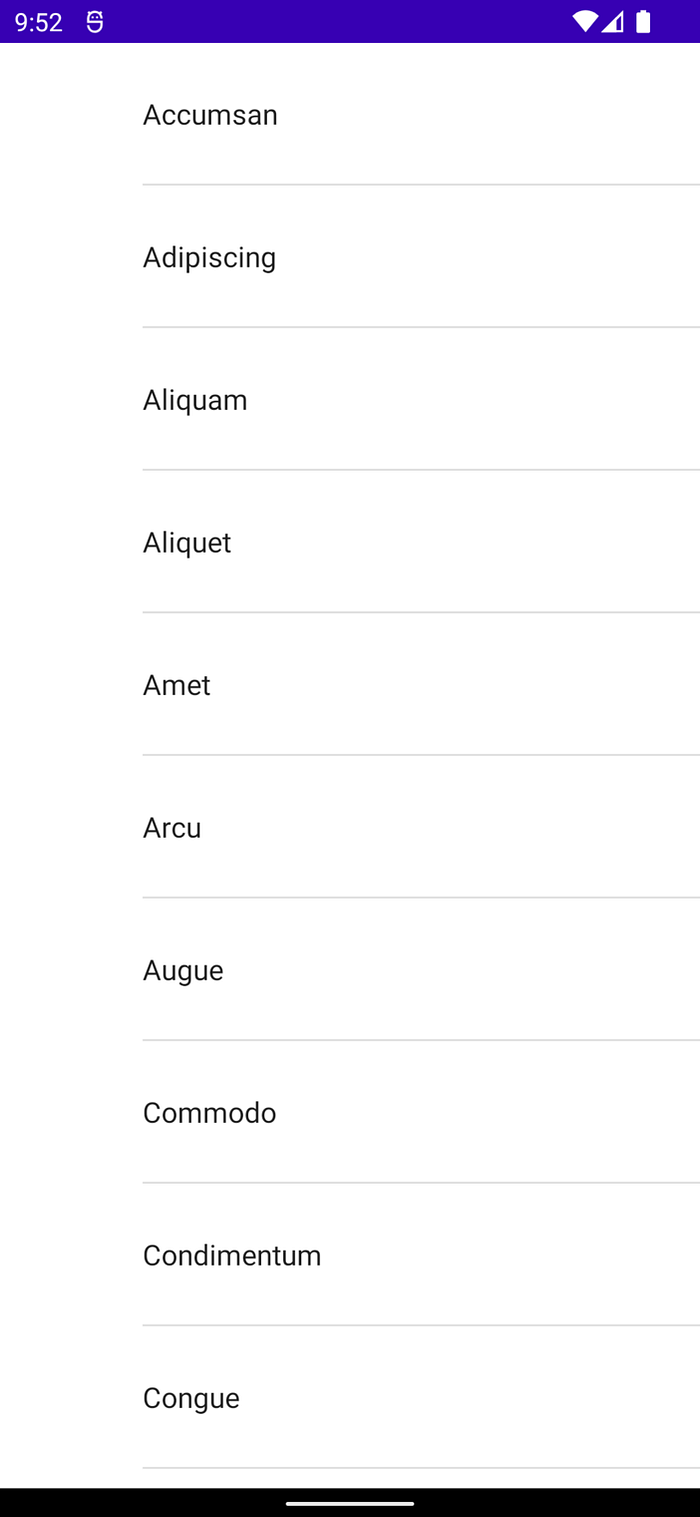
If we run this, we get this result:
This is rather bland, so let’s see how we can add the sticky initial to the list.
Adding the sticky initial
Obtaining the list info
To be able to display the initial we need to know which items in the list are visible, and how far they’ve scrolled. This information is available from the LazyColumn's LazyListState. There are several properties available in the state, some provide information about a single data point, for instance the index of the first visible item, while others provide an aggregate of several data points. For our implementation we will use the LazyListLayoutInfo object which provides a visibleItemsInfo property with the information we are after, a list of LazyListItemInfo objects representing the visible items, which gives us the item index and its offset.
It’s worth noting that the LazyListState properties are observable, so whenever they change we can trigger a recomposition of our list.
The initial letter algorithm
Now that we have the data we need to display the initial, we need to define how we are going to render the initial on the gutter. This is how things should work:
- The first visible item is always accompanied by a gutter initial.
- If an item is preceded by an item with a different initial, then this item will be accompanied by an initial — in other words, only the 1st item in a group of items with the same initial has an accompanying gutter initial.
- If the first visible item is followed by an item with the same initial, then the initial sticks to the top of the container.
- In all other cases the initials follow their corresponding item — i.e., the initial is offset to match the item it corresponds to.
Let’s see how we can write this in code:
- We need to keep track of the last initial we processed, so we can check an item against the previous one.
- We iterate over the
LazyColumn'svisibleItemsInfowhich gives us information on what items are currently visible on the screen. - For each visible item, we get its initial.
- If this initial is different from the one from the preceding one, then we are starting a new initial block, otherwise we do nothing.
- We update our current initial, as it has changed.
- We get the initial for the next item in the list.
- We get the offset from this item, and convert it from pixels to
Dp. - We wrap the initial factory in a
Box, so that we can apply an offset to it. - If this is not the first item in the list, or if the next item in the list has a different initial, then the initial will be offset to match its corresponding item. Otherwise, when we are processing the first visible item, or the next item in the list has the same initial, we stick the initial to the top.
- Finally we use the initial factory method to generate the composable for the initial.
Displaying the initial
Now that we have our algorithm in place, we need to put it to good use. To render the initials in the gutter we are going to use the composed Modifier — this is a Modifier that is stateful and can call composables in its body, just what we need to render the initial.
We will apply this modifier to the Box wrapping the LazyColumn in our list, and we will use the algorithm we just described above in its body:
All we have done here is move the algorithm described earlier into the composed block of the Box's Modifier. Because the list state properties are observable, this code will run whenever the list scrolls, it will recalculate which list items are visible and their initials, and display the initials on the gutter, at the right offset to match their corresponding list item.
Making the composable reusable
The compose block is embedded in our list — we can extract this to a Modifier extension to make it available outside the list, doing so we can rewrite our list and the extension as shown below:
Our extension function on Modifier takes the list state, the list items and the factory to generate the initial composables.
With this our implementation is complete. The full sample code, including usage, is displayed below. I hope you found this story useful, and I’ll see you on the next one, happy coding!
Edit Nov 5, 2022
The solution described above uses Modifier.composed which comes with a performance hit. Below is an alternative solution that uses Modifier.drawWithCache instead. Note that this solution is built on Material3 and assumes all items in the list are of the same height. If that’s not the case for you, you would have to compute the itemHeight accordingly.